Hello and thank you for choosing my sensitizer!
You can buy Cyanotype Sensitizer from my eBay page: Here.
Here, you can access valuable information on getting the most out of my sensitizer. However, if you’re eager to explore advanced techniques in more depth, you’re welcome to join one of my cyanotype workshops.
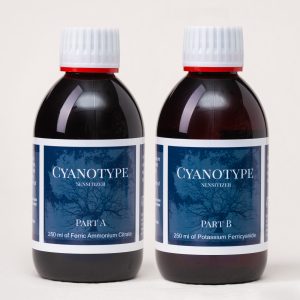
Prepare your workspace: Find a clean, well-ventilated area to work in, and gather all the materials you’ll need for the cyanotype process. These include the cyanotype chemicals (ferric ammonium citrate and potassium ferricyanide solutions), a measuring cup, a mixing bowl, a brush or sponge, hairdryer and your printing surface (usually paper or fabric).
- Combine the chemicals: In a dimly lit environment, blend equal portions of ammonium iron citrate and potassium ferricyanide solutions. Stir the mixture diligently until the chemicals are thoroughly mixed.
- Coat your printing surface: Using a brush or sponge, apply the cyanotype solution evenly onto your printing surface. Be sure to coat the entire surface, and avoid leaving any streaks or bubbles. 500ml of sensitizer should be enough to cover around 50-60 A4 pages.
- Dry the coated surface: Let the coated surface air-dry fully in a dark room or under low-light conditions, or speed up the process by using a hairdryer.
- Create a negative of your desired image by using digital image editing software and printing it on transparency film. Alternatively, you can use everyday objects to craft photograms. You can use feathers, leaves, textiles, cut-outs, different hand-drawn foils, and more. Your imagination is the only limit!
- Position the negative (or the objects) on the dry coated surface, with the image facing downward. Ensure that everything is firmly held in place to prevent any shifting during the exposure process. When working with negatives or flat objects, you can use a glass sheet or transparent acrylic sheet to secure them.
- Expose the surface to UV light: Place the coated surface with the negative on top in direct sunlight or under a UV light source. Expose it for anywhere from a few minutes to an hour, depending on the intensity of the light source and the desired level of contrast in your print.
- Rinse the print: After the desired exposure time has elapsed, rinse the print thoroughly in running water for several minutes to remove any unexposed cyanotype chemicals. The water should turn from yellow to clear.
- Toning: You have the option to immerse your print in strong tea or coffee solutions for extended periods to alter their color. Following the toning process, remember to wash your print again to complete the procedure.
- Dry the print: Hang or lay the print flat to dry in a dark room or under low-light conditions. Once dry, your cyanotype print is complete!
The cyanotype sensitizer and toning solutions can stain clothing and, on rare occasions, the skin. It is advisable to wear gloves and an apron when handling these chemicals.
The Part A and Part B cyanotype solutions have a relatively long shelf life when stored separately. However, once they are mixed together, their shelf life becomes significantly shorter. In ideal cool and dry conditions, you may expect them to last for several weeks. Therefore, it’s advisable to combine the two stock solutions only when you have a specific intention to use them. This practice ensures that you get the best results and longevity out of your cyanotype chemicals.
In the unlikely event that mold appears on the ferric ammonium citrate solution, you can effectively remove it by carefully decanting the solution through a clean coffee filter.